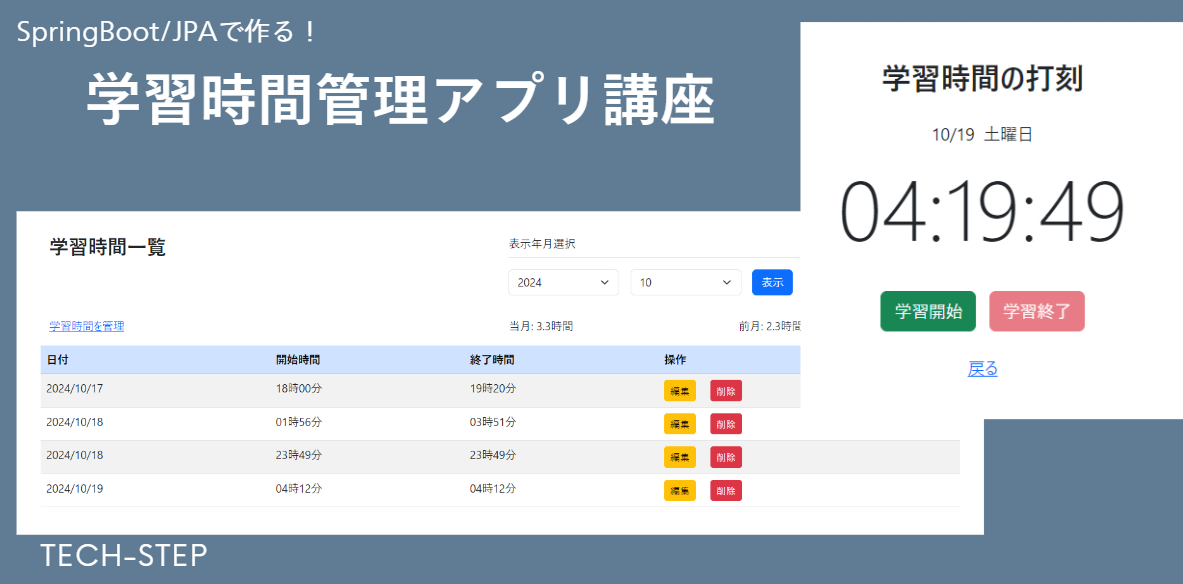
前回までのあらすじ
前回は主に要件定義をしてアプリを作成する目的や機能要件などを考える事で、どのような問題を解決するアプリを作成するのかを決定しました。
スキーマの作成ではDDLを作成し、MySQLでコマンドを流して作成しました。
Springスタータ・プロジェクトで、依存関係を決定し、プロジェクトの立ち上げまでを行いました。
今回のゴールは、Create,Read,Update,Deleteが出来るアプリ(CRUDアプリ作成)までをゴールとしています。
SpringとDBを紐づける
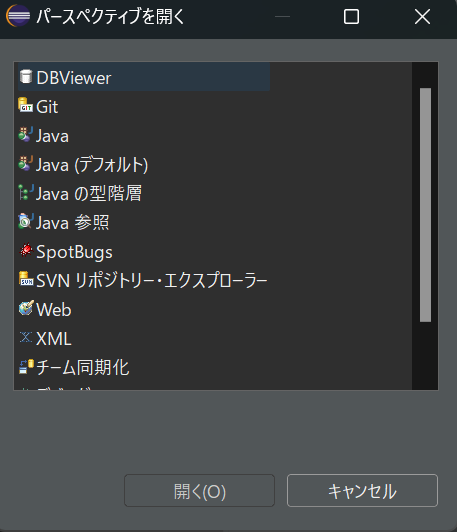
筆者は、パースペクティブの「DBViewer」を使用して紐づけを行います。色々な紐づけの仕方があるので、好きなやり方でよいと思います。パースペクティブに最初から無かった記憶があるので、無い場合はダウンロードしてくださいね。
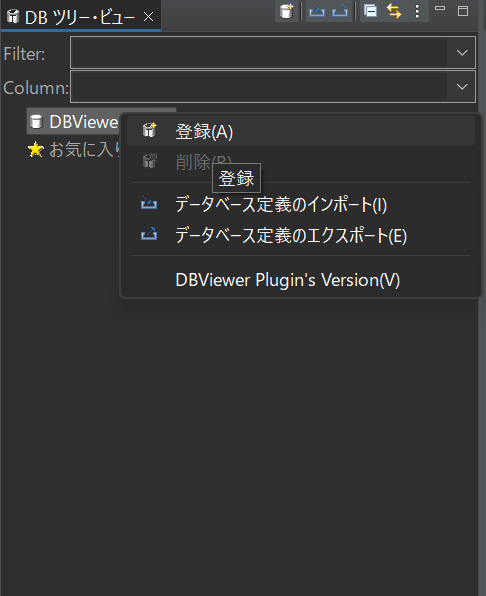
DBViewerPluginを開いたら、右クリックして「登録」をクリックします。
データベース定義名を作成したデータベース名にして、JDBCドライバーをファイル選択で読み込みます。こちらもMySQLのサイトでJarファイルがダウンロード出来ますので、ご自身のバージョンにあったJarファイルをダウンロードして読み込んでください。
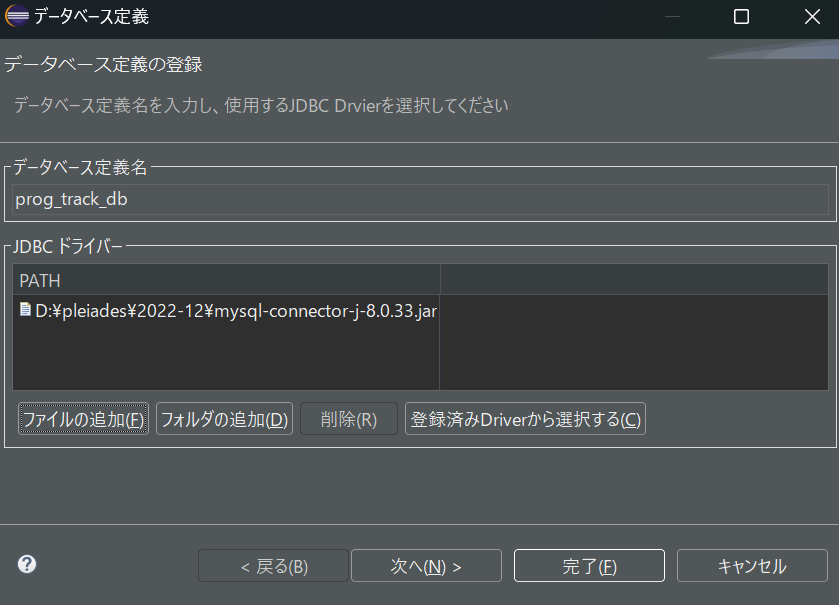
次へを選択します。
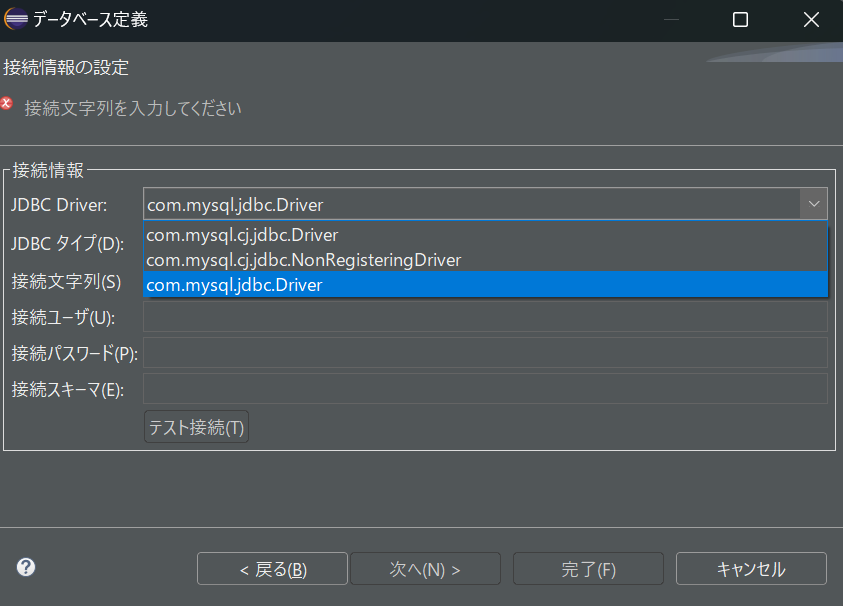
「com.mysql.jdbc.Driver」を選択します。
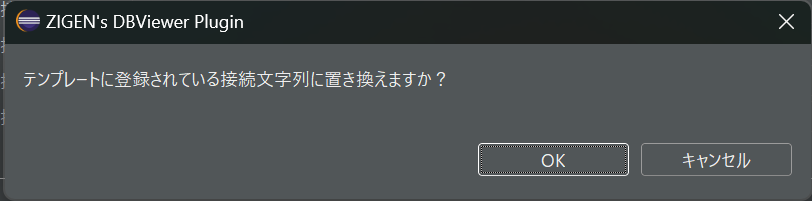
こちらは「OK」で進みます。
下記の記載する場所は三か所
- 接続文字列
- 接続ユーザー
- 接続パスワード
※接続ユーザーと接続パスワードはご自身のMySQLのものです。
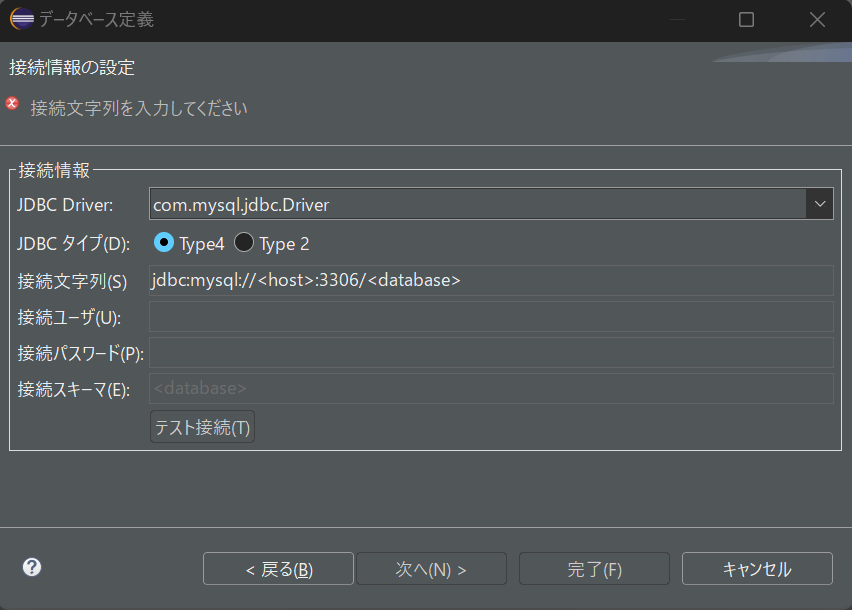
以下は入力後のキャプチャです。接続ユーザーと接続パスワードは伏せます。
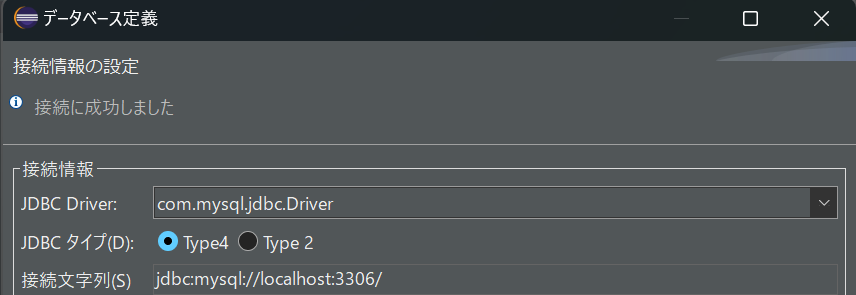
テスト接続まで行い、以下の表示となればOKです。
次へを選択します。
スキーマは今回作成したスキーマを選択します。自動コミットモードにチェックを入れます。
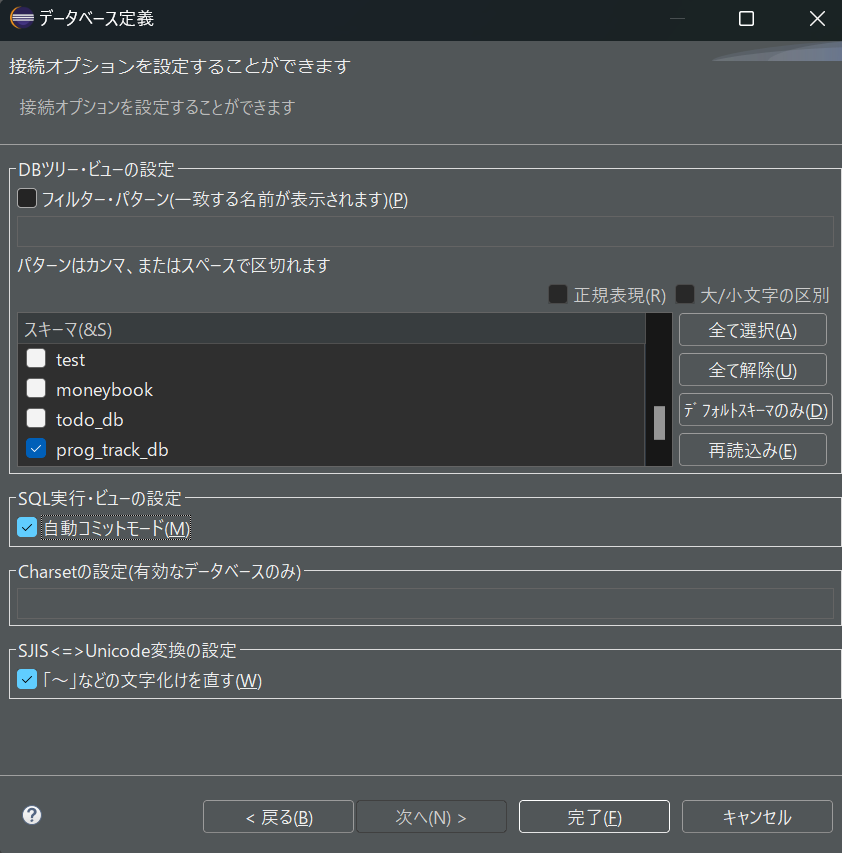
完了を選択すればDB接続が完了します。
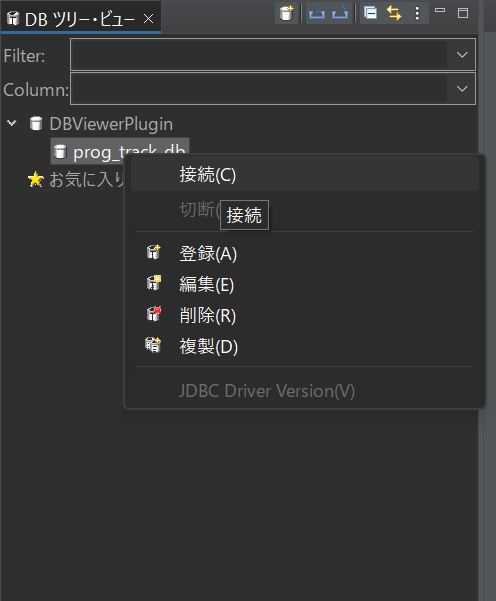
確認のため、以下を右クリックします。「接続」を選択します。
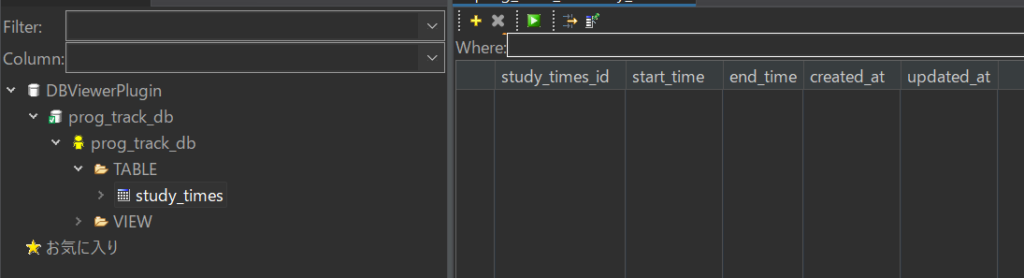
すると、以下のように自分のDBが出てきてくれれば接続が完了しています。テーブルも確認できますよ!
これで、SpringとDBの紐づけが完了しました。
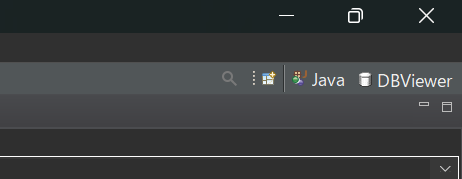
右上の「Java」を選択します。
「application.properties」を編集し、DBの設定を書き込んでいきます。
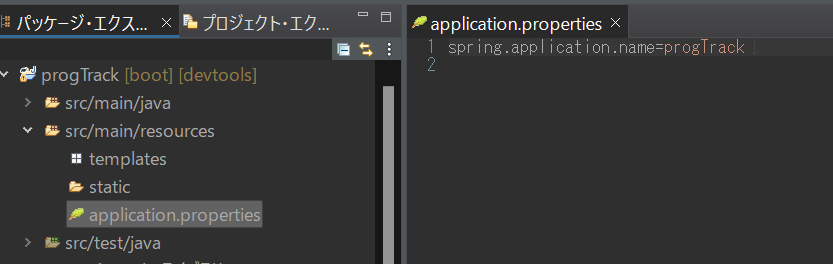
こちらの設定は伏せますので、以下のような形に設定ください。
spring.datasource.url=jdbc:mysql://${MYSQL_HOST:localhost}:3306/DBの名前
spring.datasource.username=ご自身の名前
spring.datasource.password=ご自身のパスワード
spring.datasource.driver-class-name=com.mysql.cj.jdbc.Driver
spring.sql.init.encoding=utf-8
spring.sql.init.mode=always
これで、DBとSpringが連携出来ました!!
コーディング
バックエンド側の作成
エンティティの作成
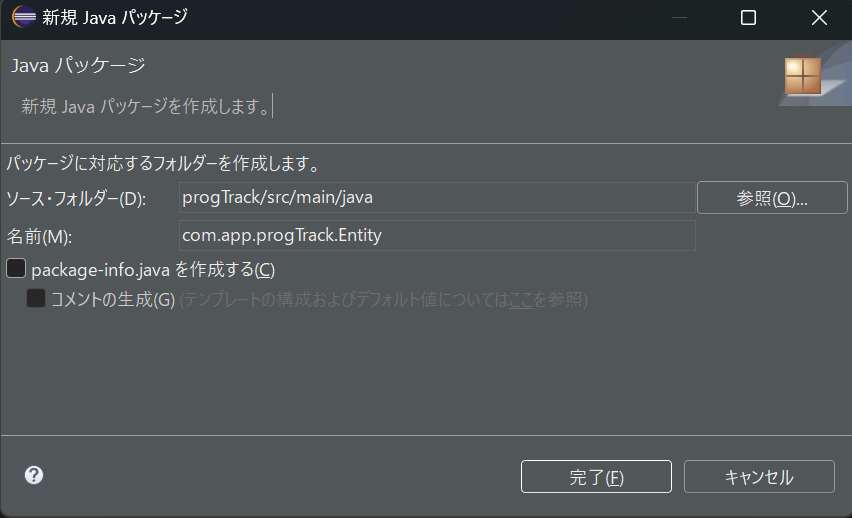
プロジェクトを右クリックして以下のように「パッケージ」を選択し、作成していきます。
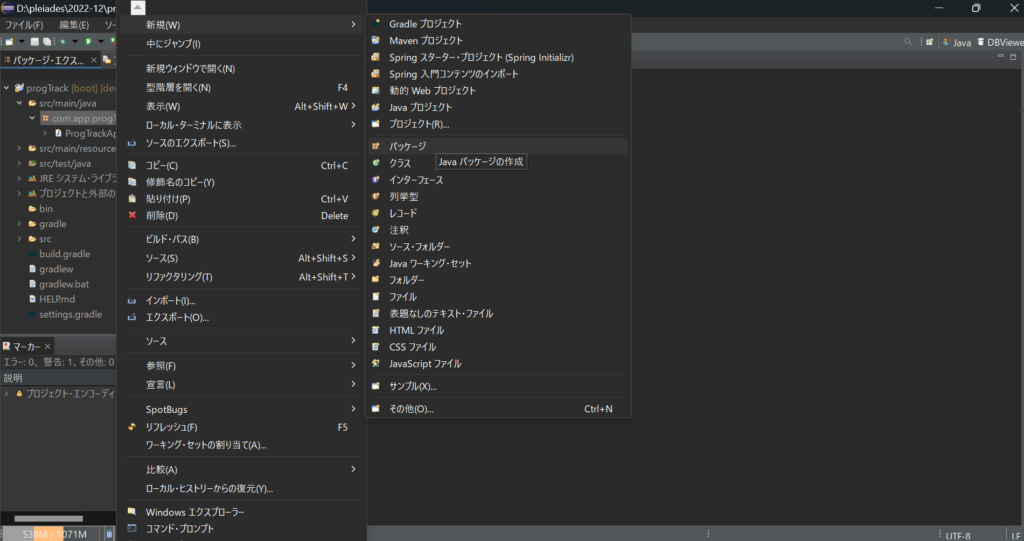
「com.app.progTrack.entity」とします。完了を押すとパッケージが作成されます。※下記はEntityですが、小文字でentityとしてください。
同様の手順でクラスを作成します。
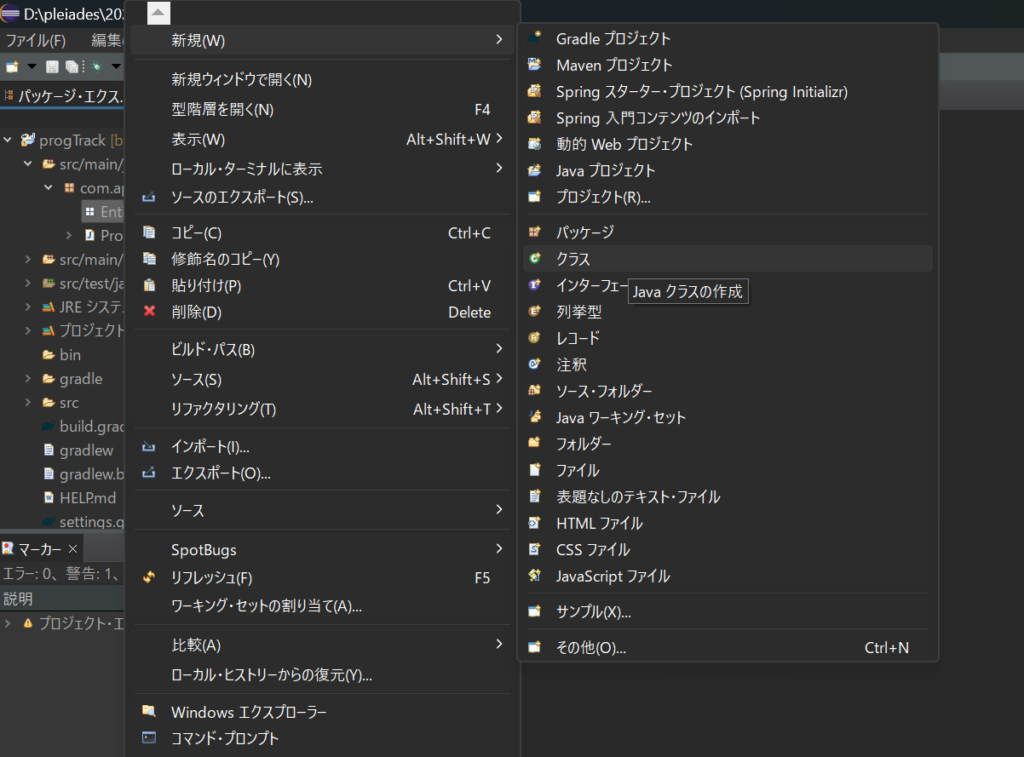
「StudyTime.java」とします。完了します。

「StudyTime.java」を編集します。
package com.app.progTrack.entity;

import java.sql.Timestamp;
import java.time.LocalDateTime;

import jakarta.persistence.Column;
import jakarta.persistence.Entity;
import jakarta.persistence.GeneratedValue;
import jakarta.persistence.GenerationType;
import jakarta.persistence.Id;
import jakarta.persistence.Table;
import lombok.Data;

@Entity
@Table(name = "study_times")
@Data
public class StudyTime {
	@Id
	@GeneratedValue(strategy = GenerationType.IDENTITY)
	@Column(name = "study_times_id")
	private Long studyTimesId;

	@Column(name = "start_time")
	private LocalDateTime startTime;

	@Column(name = "end_time")
	private LocalDateTime endTime;

	@Column(name = "created_at", insertable = false, updatable = false)
	private Timestamp createdAt;

	@Column(name = "updated_at", insertable = false, updatable = false)
	private Timestamp updatedAt;
}
リポジトリの作成
「com.app.progTrack.repository」とします。完了を押すとパッケージが作成されます。
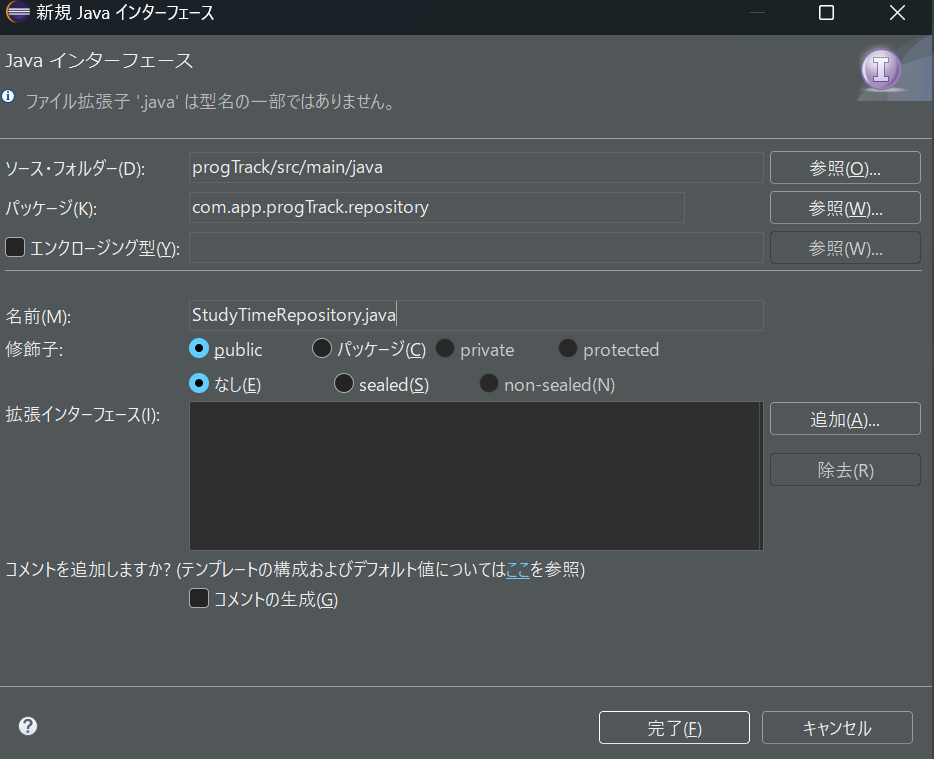
同様の手順でインターフェースを作成します。
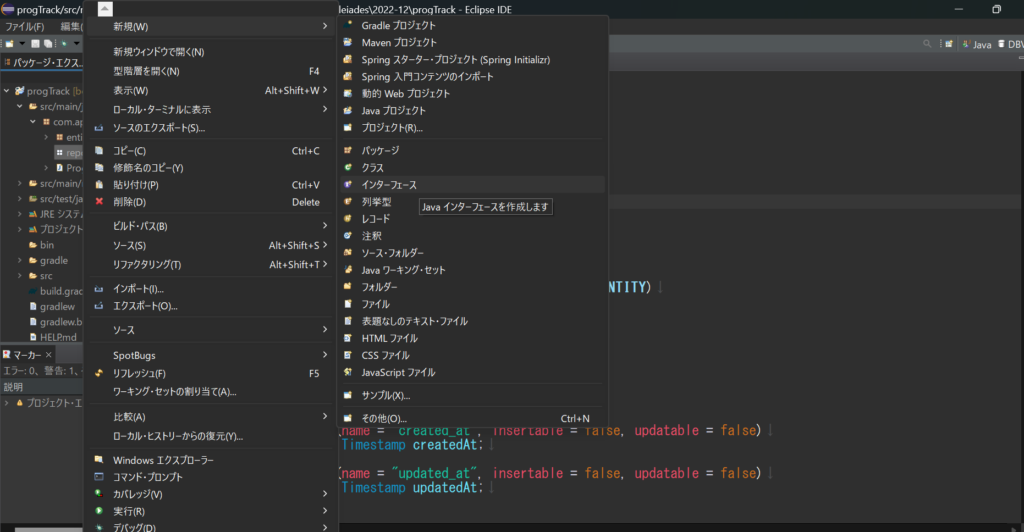
「StudyTimeRepository.java」とします。
「StudyTimeRepository.java」を編集します。
package com.app.progTrack.repository;

import org.springframework.data.jpa.repository.JpaRepository;

import com.app.progTrack.entity.StudyTime;

public interface StudyTimeRepository extends JpaRepository<StudyTime, Long>{

}
サービスの作成
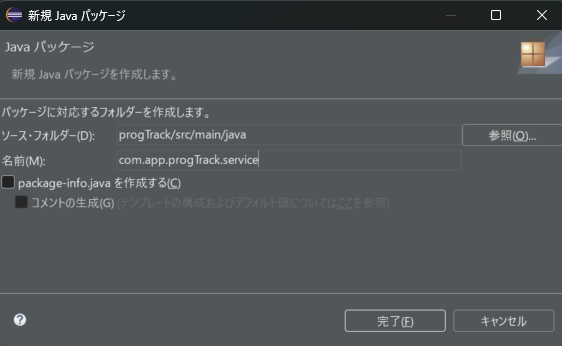
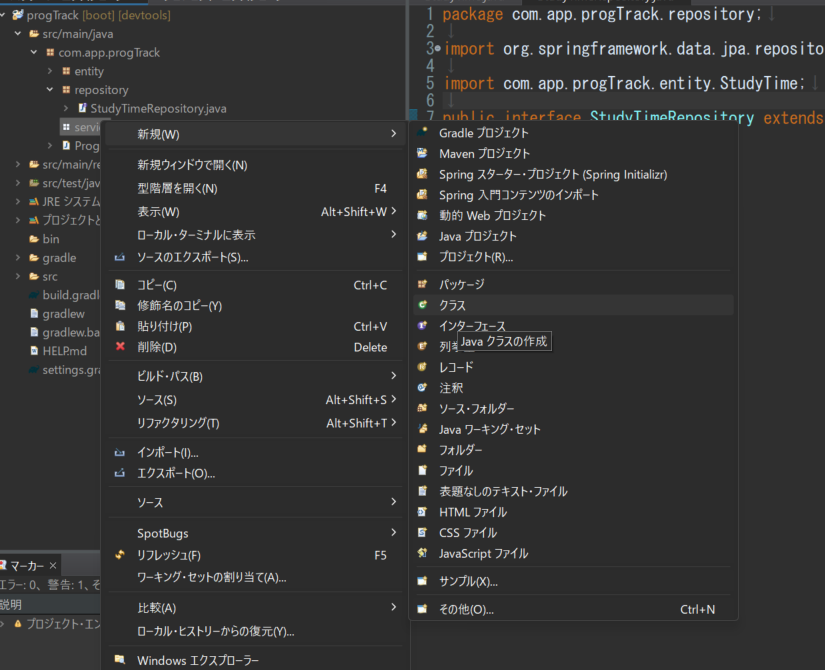
「com.app.progTrack.service」とします。完了を押すとパッケージが作成されます。
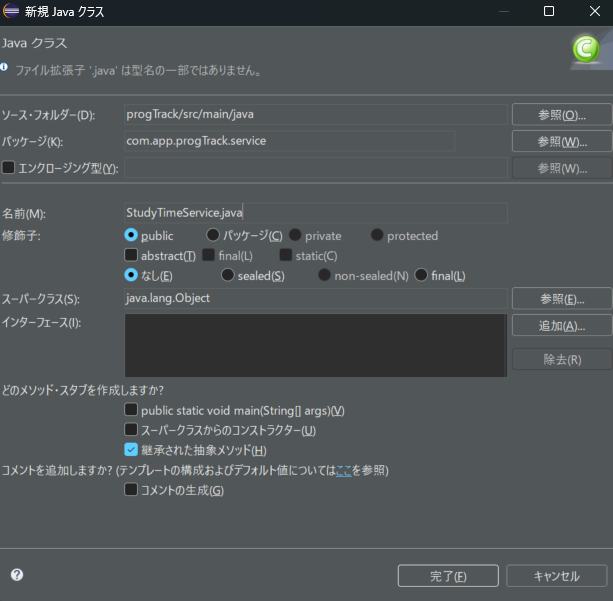
同様の手順でクラスを作成します。
「StudyTimeService.java」とします。完了を選択しクラスを作成します。
「StudyTimeService.java」編集します。
package com.app.progTrack.service;

import java.time.LocalDateTime;
import java.util.List;

import org.springframework.stereotype.Service;

import com.app.progTrack.entity.StudyTime;
import com.app.progTrack.repository.StudyTimeRepository;

@Service
public class StudyTimeService {
	private final StudyTimeRepository studyTimeRepository;

	public StudyTimeService(StudyTimeRepository studyTimeRepository) {
		this.studyTimeRepository = studyTimeRepository;
	}

	// 学習時間の打刻セットロジック
	public void saveStudyTime(StudyTime studyTime) {

		if (studyTime.getStartTime() == null) {
			studyTime.setStartTime(LocalDateTime.now());
		}

		if (studyTime.getEndTime() == null) {
			studyTime.setEndTime(LocalDateTime.now());
		}

		studyTimeRepository.save(studyTime);
	}
	// 一覧ページ表示用
	public List<StudyTime> getAllStudyTimes() {
		return studyTimeRepository.findAll();
	}
	// 編集用
	public StudyTime getStudyTime(Long id) {
		return studyTimeRepository.findById(id).orElse(null);
	}
	// 削除用
	public void deleteStudyTime(Long id) {
		studyTimeRepository.deleteById(id);
	}
}
コントローラーの作成
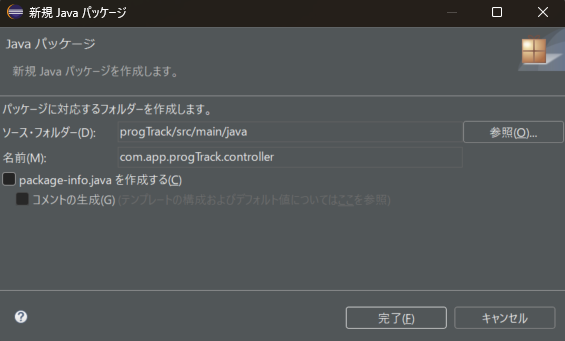
「com.app.progTrack.controller」とします。完了を押すとパッケージが作成されます。
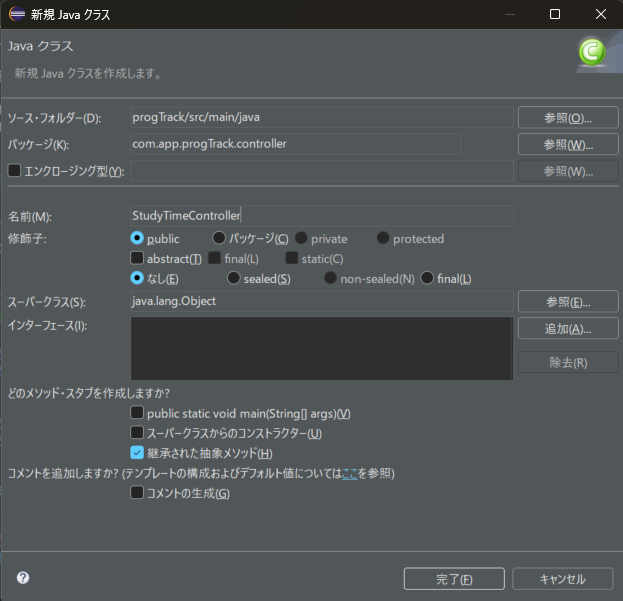
同様の手順でクラスを作成します。
「StudyTimeController.java」とします。完了を選択しクラスを作成します。
「StudyTimeController.java」を編集します。
package com.app.progTrack.controller;

import java.util.List;

import org.springframework.stereotype.Controller;
import org.springframework.ui.Model;
import org.springframework.web.bind.annotation.GetMapping;
import org.springframework.web.bind.annotation.ModelAttribute;
import org.springframework.web.bind.annotation.PathVariable;
import org.springframework.web.bind.annotation.PostMapping;
import org.springframework.web.bind.annotation.RequestMapping;

import com.app.progTrack.entity.StudyTime;
import com.app.progTrack.service.StudyTimeService;

@Controller
@RequestMapping("/studytime")
public class StudyTimeController {
	private final StudyTimeService studyTimeService;

	public StudyTimeController(StudyTimeService studyTimeService) {
		this.studyTimeService = studyTimeService;
	}

	@GetMapping
	public String listStudyTimes(Model model) {
		List<StudyTime> studyTimes = studyTimeService.getAllStudyTimes();
		model.addAttribute("studyTimes", studyTimes);
		return "studytime/studyTimeList";
	}

	@GetMapping("/new")
	public String newStudyTimeForm(Model model) {
		model.addAttribute("studyTimeObject", new StudyTime());
		return "studytime/studyTimeForm";
	}

	@PostMapping
	public String createStudyTime(@ModelAttribute StudyTime studyTime) {
		studyTimeService.saveStudyTime(studyTime);
		return "redirect:/studytime";
	}

	@GetMapping("/{id}/edit")
	public String editStudyTimeForm(@PathVariable Long id, Model model) {
		StudyTime studyTime = studyTimeService.getStudyTime(id);
		model.addAttribute("studyTimeObject", studyTime);
		return "studytime/studyTimeForm";
	}

	@PostMapping("/{id}")
	public String updateStudyTime(@PathVariable Long id, @ModelAttribute StudyTime studyTime) {
		studyTime.setStudyTimesId(id);
		studyTimeService.saveStudyTime(studyTime);
		return "redirect:/studytime";
	}

	@PostMapping("/{id}/delete")
	public String deleteStudyTime(@PathVariable Long id) {
		studyTimeService.deleteStudyTime(id);
		return "redirect:/studytime";
	}
}
フロントエンド側の作成
HTMLを作成
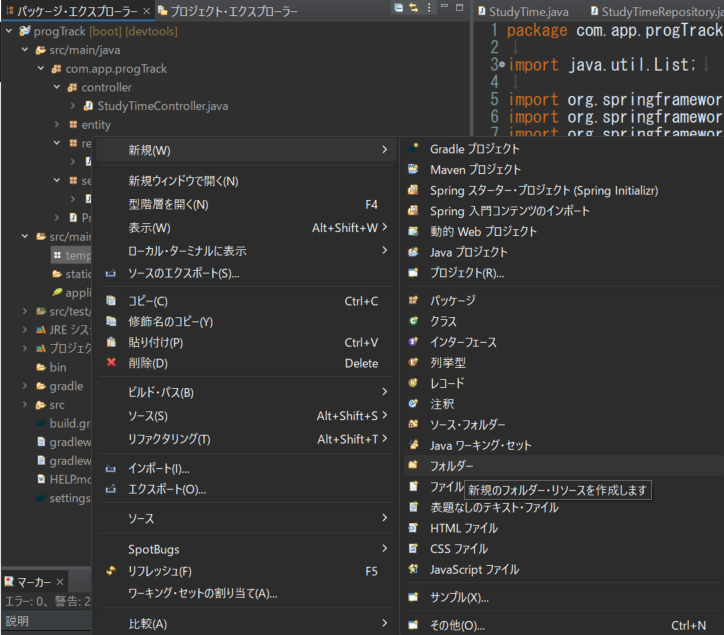
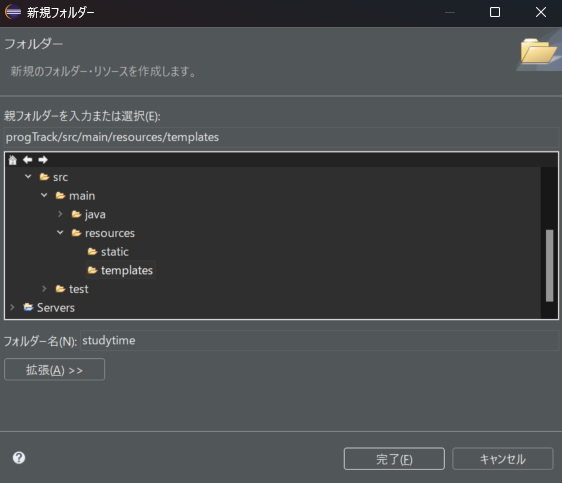
src/main/resourcesフォルダ内にあるtemplatesフォルダを右クリックしたら、「新規 > フォルダ」を選択してください。フォルダの作成画面が表示されたら、フォルダ名に「studytime」と入力し、完了ボタンをクリックしましょう。
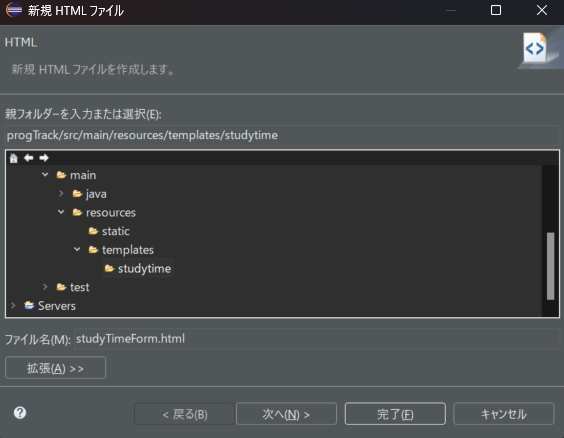
学習時間を入力する画面を作成していきます。ファイル名はコントローラーでも明記してある通り、「studyTimeForm.html」です。
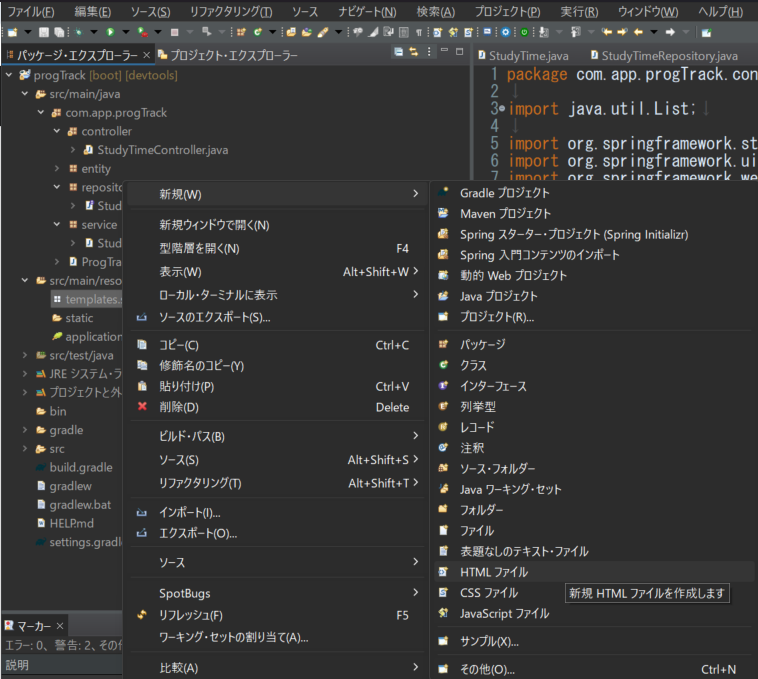
作成したstudytimeフォルダを右クリックし、「新規 > ファイル」を選択しましょう。ファイルの作成画面が表示されたら、ファイル名に「studyTimeForm.html」と入力し、完了ボタンをクリックしてください。
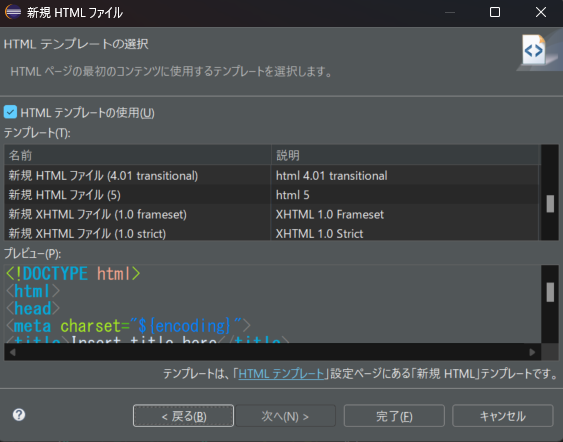
ここは、HTMLのテンプレート選択画面です。完了を選択します。
「studyTimeForm.html」を編集します。
<!DOCTYPE html>
<html xmlns:th="http://www.thymeleaf.org">
<head>
	<meta charset="UTF-8">
	<title>学習時間の入力</title>
	<script>
		function setCurrentTime(field) {
			const now = new Date();
			const formattedTime = now.toISOString().slice(0, 16);
			document.getElementById(field).value = formattedTime;
		}
	</script>
</head>
<body>
	<h1>学習時間の入力</h1>
	<form th:action="@{/studytime}" th:object="${studyTimeObject}" method="post">
		<label>開始時間:</label>
		<input type="datetime-local" id="startTime" th:field="*{startTime}" required />
		<button type="button" onclick="setCurrentTime('startTime')">学習開始</button>

		<label>終了時間</label>
		<input type="datetime-local" id="endTime" th:field="*{endTime}" required />
		<button type="button" onclick="setCurrentTime('endTime')">学習終了</button>

		<button type="submit">保存</button>
	</form>

	<a href="/studytime">戻る</a>
</body>
</html>
作成したstudytimeフォルダを右クリックし、「新規 > ファイル」を選択しましょう。ファイルの作成画面が表示されたら、ファイル名に「studyTimeList.html」と入力し、完了ボタンをクリックしてください。
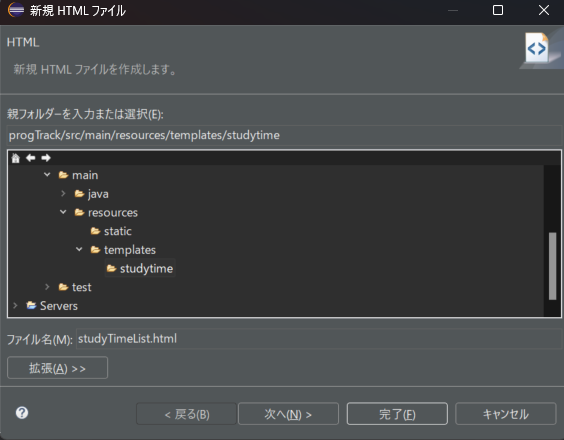
「studyTimeList.html」を編集します。
<!DOCTYPE html>
<html xmlns:th="http://www.thymeleaf.org">
<head>
	<meta charset="UTF-8">
	<title>学習時間一覧</title>
</head>
<body>
	<h1>学習時間一覧</h1>
	<a th:href="@{/studytime/new}">学習を開始する</a>
	<table>
		<tr>
			<th>ID</th>
			<th>開始時間</th>
			<th>終了時間</th>
		</tr>
		<tr th:each="studyTime : ${studyTimes}">
			<td th:text="${studyTime.studyTimesId}"></td>
			<td th:text="${studyTime.startTime}"></td>
			<td th:text="${studyTime.endTime}"></td>
			<td>
				<a th:href="@{/studytime/{id}/edit(id=${studyTime.studyTimesId})}">編集</a>
				<form th:action="@{/studytime/{id}/delete(id=${studyTime.studyTimesId})}" method="post" style="display: inline;">
					<button type="submit">削除</button>
				</form>
			</td>
		</tr>
	</table>
</body>
</html>
一旦ここまで
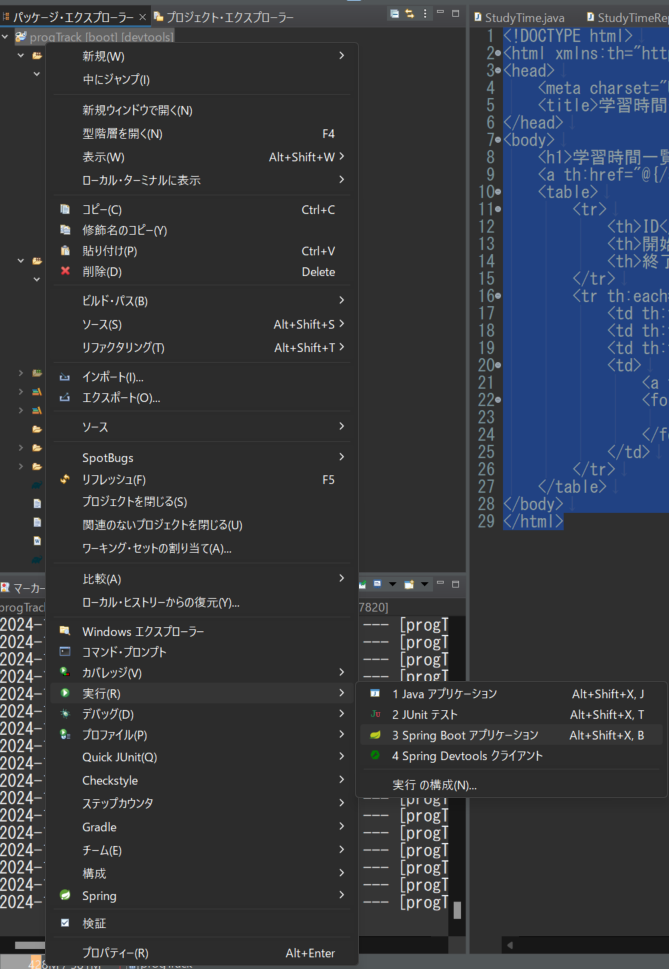
それでは、SpringBootでブラウザを立ち上げてみてみましょう。プロジェクトを右クリックして「実行(R)」から「SpringBootアプリケーション」を選択します。
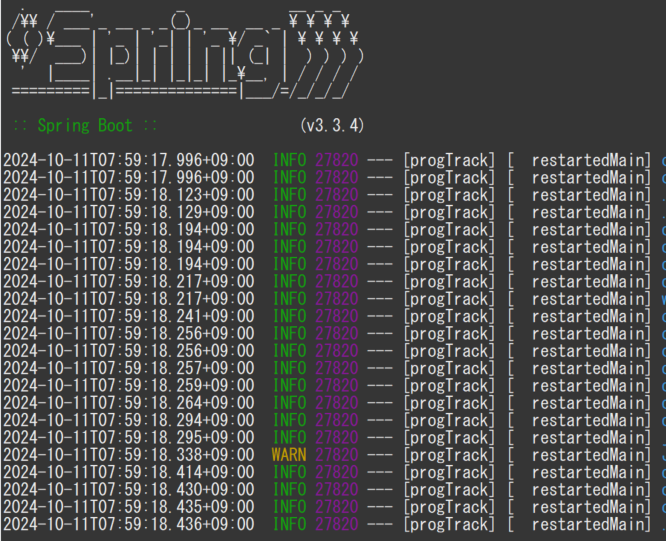
コンソールの表示にエラーがなければOKです!!
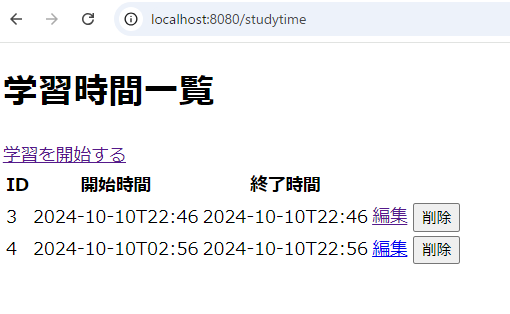
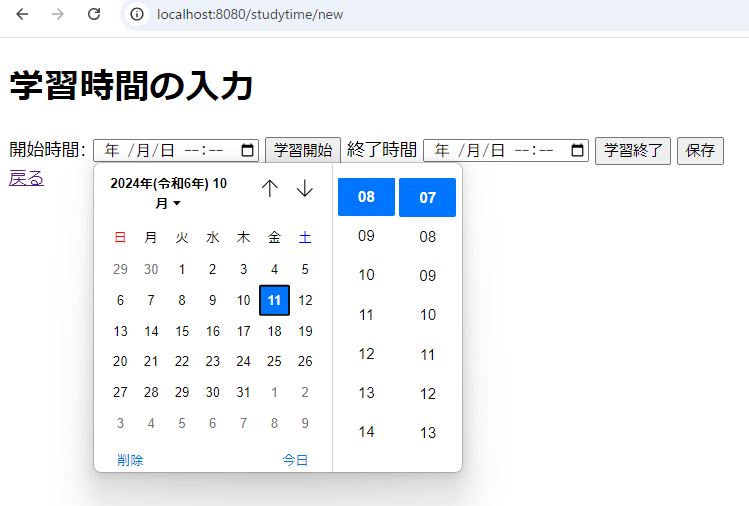
http://localhost:8080/studytimeへアクセスしましょう!ここまでのプログラムで基本的なCRUD処理のアプリケーションは作成出来ています。

おわりに
実装時のエラーに関して
全てのエラーは、書かなかったですが、抑えた方がよいなというエラーは以下の記事に書いたので、気になった方はお読みになられるとよいかなと思います!
次回の改修要件
一応、アプリケーションのたたきは完成しましたので、次回からは、以下を実施していきます。
- 時間取得がUTCなのでJSTへ変換する処理
- ボタンを押して学習開始が出来るようにする
- 一覧画面など、日付と時間が一緒になっていて見づらいので見やすい画面に作成する
- 現状は開始時間と終了時間を入力しないと先に進めないので、スキーマを含めて構成を練り直す
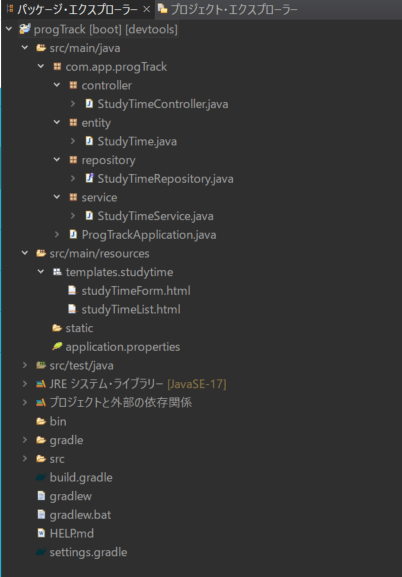
ディレクトリの構成
以上となります。お読みいただきありがとうございました!
コメント